Raster Layers
Overview and Concepts
Raster Layers are used to manage all forms of satellite, aerial and digital elevation model (DEM) data in the Stratos platform. Each layer is made up of one or more source images, which will be automatically stitched into a continuous mosaic for streaming into applications and web maps. Being familar with the following concepts will make the rest of the documentation clearer:
Sources
Sources are the general term used to describe a single image file being added to a layer. Sources are the smallest unit of management in raster layers. This may be a single satellite or aerial image file (GeoTIFF, for example), or a DEM, etc.
Collections
Stratos collections are groups of sources that have been placed together to be managed as a unit. An example might be a country-wide satellite image mosaic where the source images for each province are grouped into collections. Collections are purely an admistration convenience. Sources added from different collections still make up a single continuous data layer.
Registration
You'll encounter references to "registering data" and "deregistering data" in the documentation. Registration is the process of adding a source to a layer. The source file's header and metadata are read by the platform and its details are added to the Stratos database. Think of registering as adding data to a layer and deregistering as removing it.
Tiles and Tile Sets
Tiles, in the Stratos context, refer to web map tiles, i.e. small png or jpg images that have been computed at multiple resolutions (pyramids) in order to enable rapid rendering of a web map at any scale. Stratos uses a combination of pre-rendered and dynamically generated tiles in order to optimize performance and storage. Tile Sets refer to a complete set of map tile pyramids generated using a given style and map projection.
Updating Tiles
Any time a change has taken place in the data that makes up a layer (adding, removing or editing data), new web map tiles need to be generated in order to keep the downstream services up to date. This situation is detected by the platform and the Update Tiles button in the upper right corner will turn red to indicate that the tiles are out of date with the source data. Updating tiles can be a time-consuming operation for large data sets with many source images, so it is OK to make all your changes, and then update tiles when you are ready to publish your web service.
The Raster Editor
The Raster Editor is a dashboard within the Stratos admin GUI for managing raster layers. It is simple to use, but there is a lot of functionality which will be described below. In the context of this section we'll just be referring to it as The Editor.
Creating a Layer
You may add a new raster layer to any Data Store that you have already created. From the Data Store's home page, click the "+ Raster Layer" button in the Layers panel.
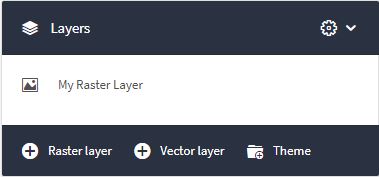
Fill in the dialog that appears. Only the title is required. Titles and descriptions will appear in a layer's metadata when the layer is harvest by a data catalog, or loaded into an application.
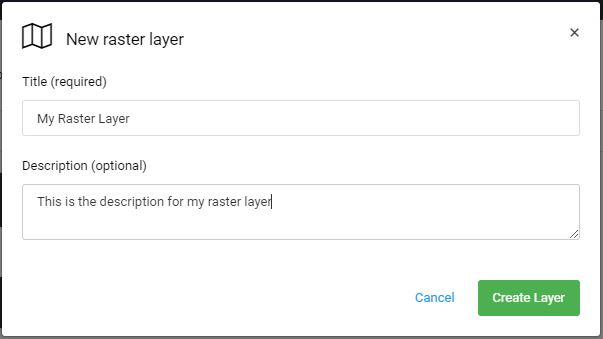
Click the "Add Layer" button. The layer will be created and you will be taken to the Raster Editor.
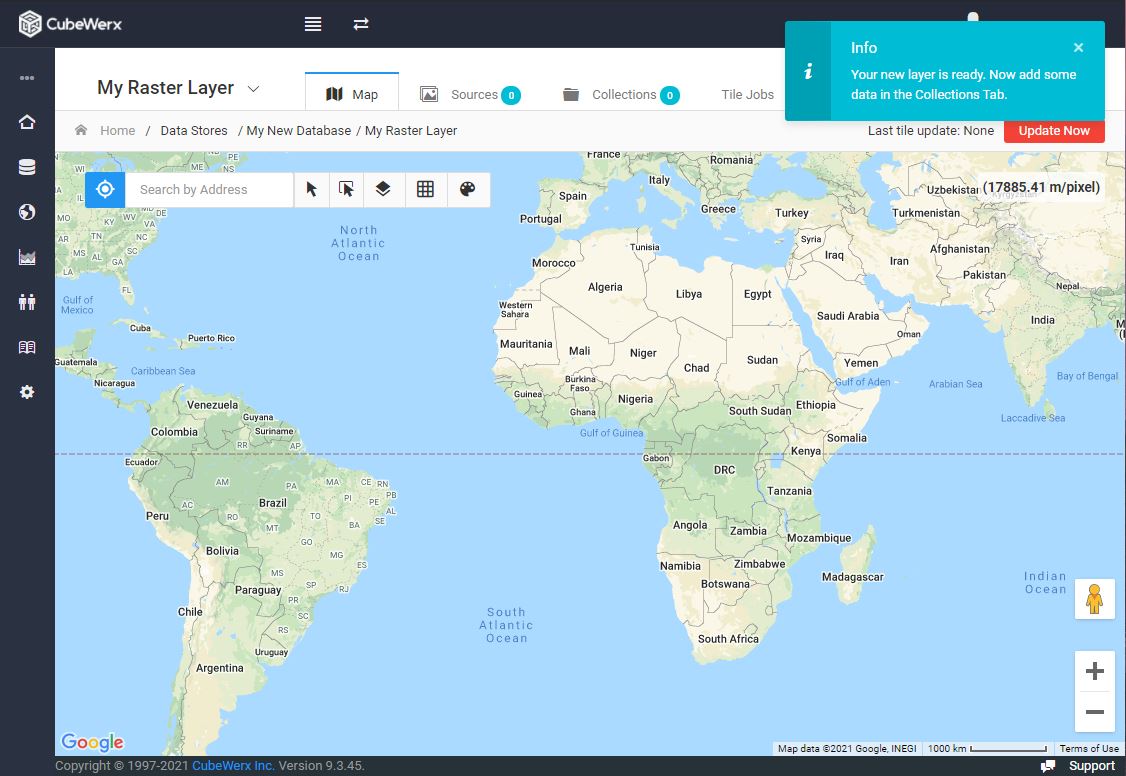
The Raster Editor
Overview
The Raster Editor manages everything to do with publishing raster layers, from source file management to map tile generation, multiband colormap styling, additional coordinate system tile sets, etc.
A new raster layer is an empty canvas. Data is added to the layer via the Collections tab. Data can be uploaded directly into a collection from from an operator's desktop, or remotely referenced from network-attached or cloud object storage locations.
Once a collection has data sources, the sources in the collection are registered to the layer in the database, and they will appear in a spreadsheet in the Sources tab.
The status of the multi-resolution map tiles required for rapid streaming of the layer's data is always shown in the status bar on the far right. Any time a layer's source data has been changed in any way, this button will turn red to indicate that the tiles are stale and need to be refreshed.
Collections
Data is added to a layer by creating a collection, then adding data to the collection. Even if you have a single data file, it must be part of a collection. Collections are managed in the Collections tab:
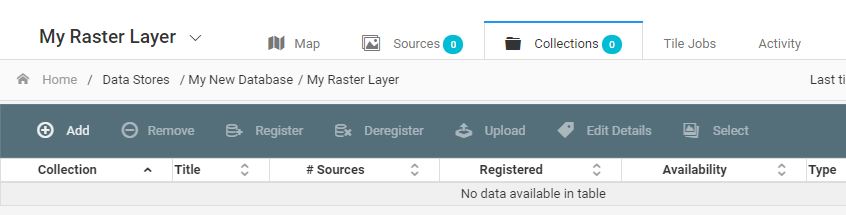
Creating Collections
There are three types of collections available in Stratos, each with slightly different behavior:
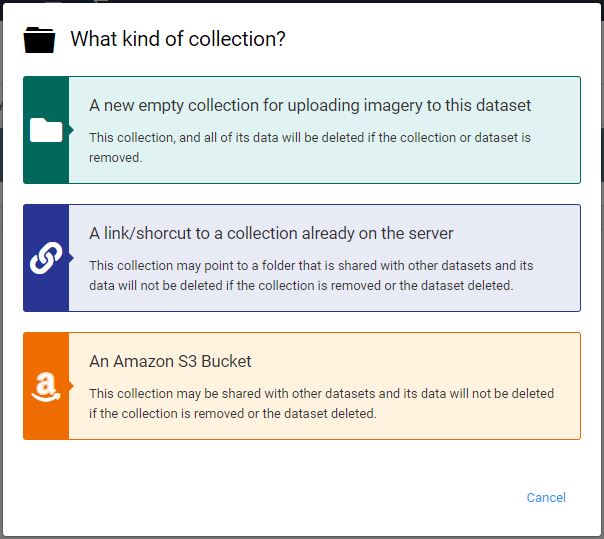
Data added to the first type of collection is uploaded to fast local storage shared with the Stratos platform. Creating this type of collection just creates the empty collection, and data will be added later. These collections are considered read/write by Stratos.
The second two collection types, Shortcut and S3, create remote connections to file servers or cloud object storage buckets where an existing set of data files resides. These collections are considered read-only by Stratos.
Warning - Deleting Collections
Deleting the first type of Collection will delete all the source data that has been loaded into it, as well as all map tiles and available web services. Collections that have been loaded by reference from NAS or cloud object storage will be de-registered from the associated data layer, but not deleted from storage.
Performance Considerations
Cloud Object or NAS collections are normally used in situations where the operator knows that read access to those collections by the Stratos platform will be fast. Generally this means there is a fast Internet connection between the platform and the NAS, or in the case of S3 buckets, Stratos is being hosted on AWS, in the same region as the buckets. Reasonable performance cannot be guaranteed if this is not the case.
Uploaded Collections
To create an collection for uploading data, click the Add button in the collections toolbar, then select the first option:
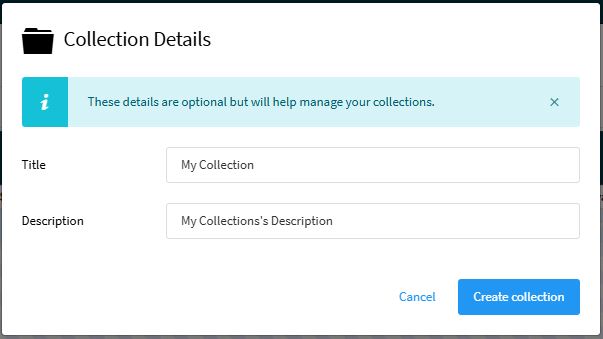
Neither of the items in the form field is required, but they can be helpful to the operator when managing many collections in large, complicated layers. When the Create Collection is clicked, the spreadsheet will refresh, showing the new (empty) collection.
To upload data to the collection, select the collection in the spreadsheet and hit the upload button on the toolbar.
Link/Shortcut Collections
Linked collections are used to publish data that resides somewhere on the network that the Stratos platform has access to. The general use case is when you have one or more satellite or aerial images in storage and you want to publish together them as a web map.
To create a linked collection, click the Add button in the collections toolbar, then select the second option:
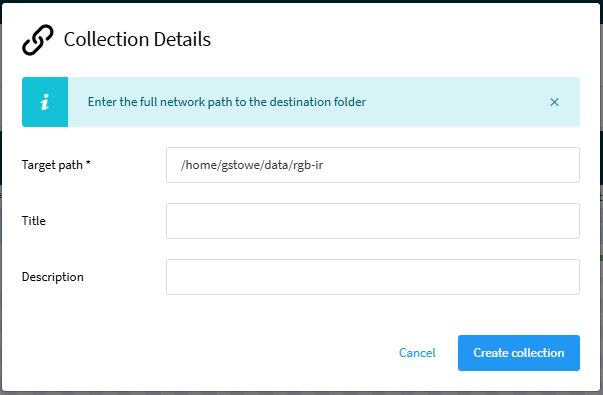
Only the target path field os required. The path is relative to the root folder on the main server running the Stratos application. Consult your network admin if you are not sure what path to use.
AWS S3 Collections
S3 collections are similar to Linked collections, except the data is in an S3 bucket instead of a file share. Take care to only use this option if you know that the S3 bucket you are adding resides in the same S3 region as the server running the Stratos application. Cross-region access is possible, but performance will suffer.
To create an S3 collection, click the Add button in the collections toolbar, then select the third option:
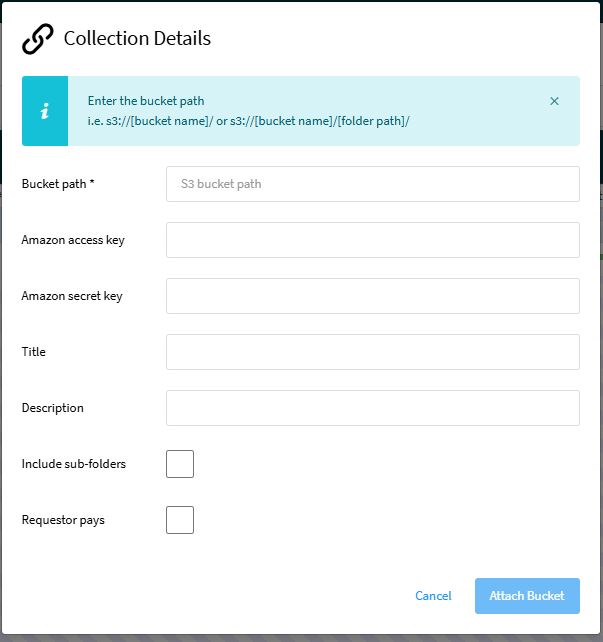
The bucket path is required. Stratos installations running on AWS often have storage buckets already associated with them. If that is the case, you can leave the access key and secret key empty. Providing keys is safe, if it is required. The keys are stored in encrypted storage, only accessible by the Stratos application. As always, when using your own keys, provide keys that are speficic to just the AWS operations that are required (S3 Read).
Removing Collections
You can use the Remove button on the toolbar to remove a collection. If this would result in the removal of registered sources, a warning will be issued. As noted above, removing local collections will delete the associated data. Removing remote collections will deregister the collections sources, but leave the data files alone.
Registering Data in a Collection
When you add a remote connection (Linked or S3) that contains existing data, the registration dialog will automatically appear. In most cases it is perfectly OK to just click the Register button and continue. The medatata fields in the dialog are used to override the metadata that will normally be pulled from the data file headers.
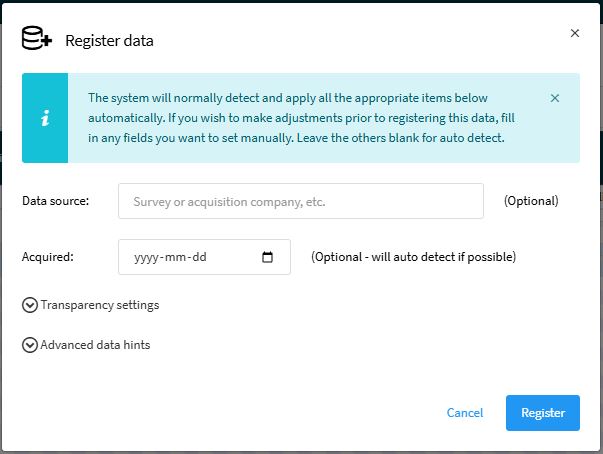
The transparency settings can be adjusted later if required. They are used to adjust any "no-data" pixels in the images which should be rendered as transparent. If you happen to know the no-data value in your data, you can enter it here, either as a color or a numeric value, depending on the source data type.
The advanced data hints section allows for tweaking problematic data, and should normally only be used under the direction of tech support.
Registration may take some time for large source collections, but will be immediate for most use cases. When complete, a short summary is displayed, and the spreadsheet is updated accordingly.
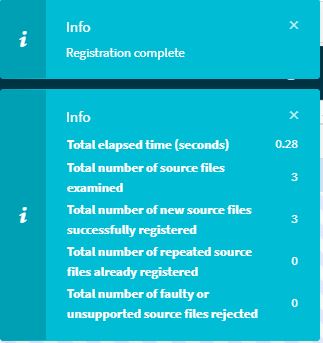
If at any point there is a discrepancy between the number of sources vs registered sources, it is OK to hit the register button at any time in order to sync everything up. Only new sources will be added to the layer.
Deregistering Data
Sometimes it us useful to temporarily remove a collection from a layer, without removing the collection itself. To do this, simply select the collection in the collections spreadsheetand hit the Deregister button. All trace of the collection's data will be removed from the layer, but the collection will remain. The Spreadsheet will show the number of sources available to be registered.
Destroying a Layer
How to manage collections for a raster layer
Adding Sources
How to deal with bad sources within a collection
Updating Sources
How to update an existing source within a collection
Editing Colormaps and Styles
How to specify and create styles for a raster layer