Quick Start
This section will provide a quick start tutorial to get you up and running with publishing your first dataset and streaming web services.
1. Log into Stratos
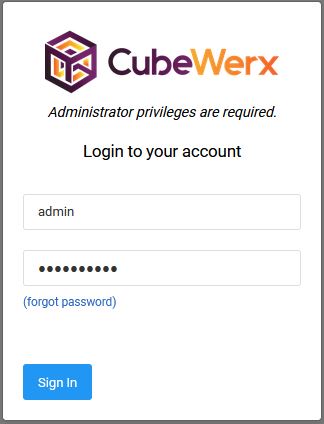
Log into Stratos as the admin user using your provided administrator account password.
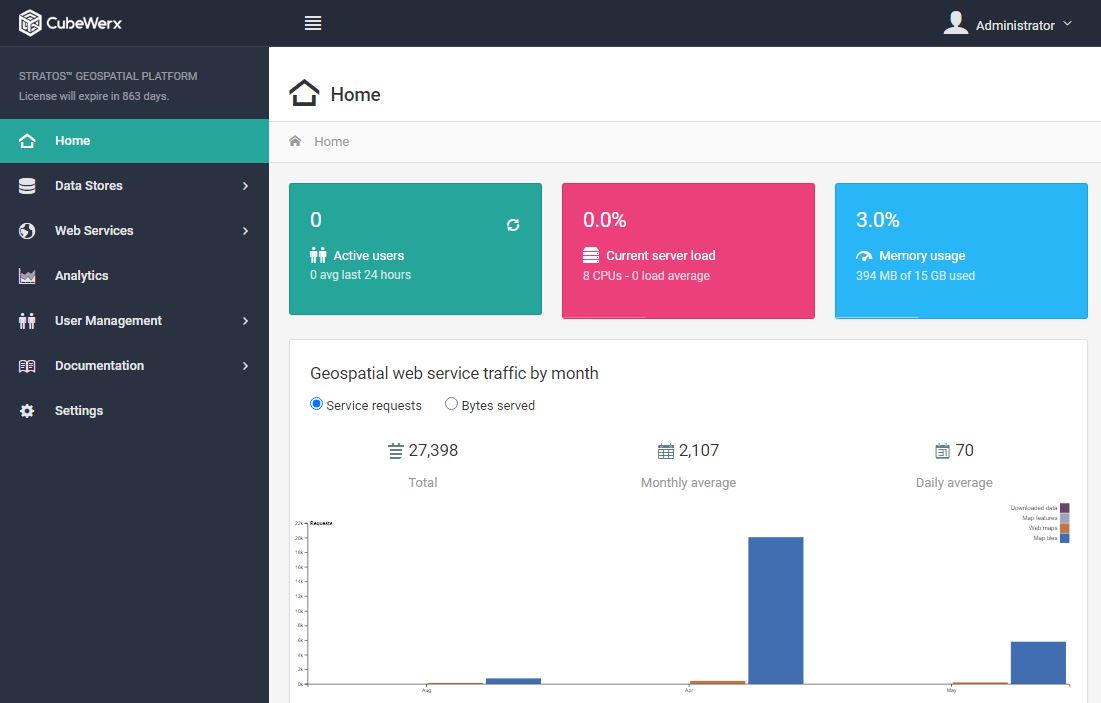
You'll be presented with the Stratos landing page, showing some statistics about the current state of the platform.
2. Create a new data store
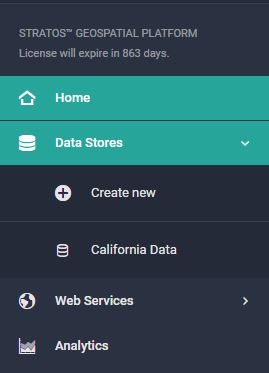
Open the Data Stores menu in the left sidebar and click the "Create new" button.
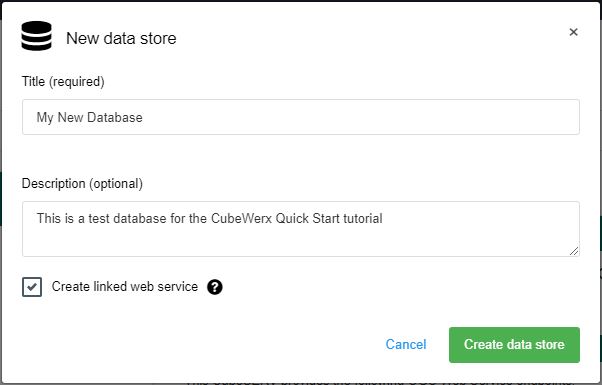
Fill in the dialog that appears. Only the title field is required. Leave the "Create linked web service" checkbox checked. Then click "Create data store".
You'll see your new data (empty) store in the main screen area. The two panels shown here let you manage the layers in your new data store and decide what web services you want them made available to. Notice that Stratos has already created a new web service with the same name as your data store.
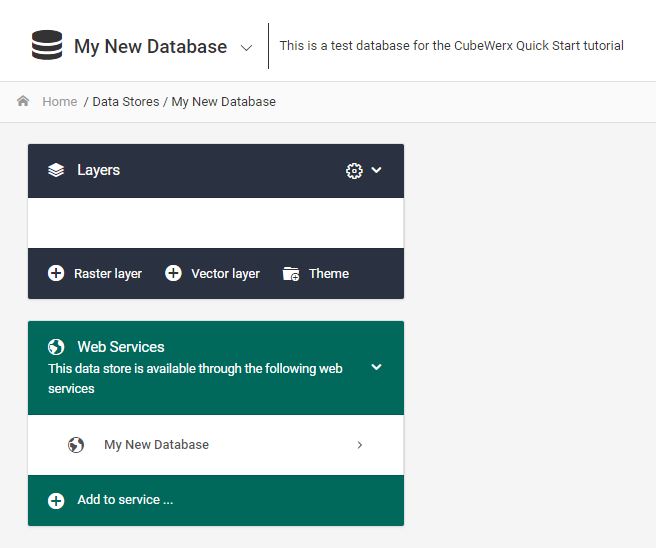
Next we're going to add a new raster layer. Click the "Add Raster" button in the Layers panel. Fill in the dialog that appears. Again, only the title is required. This is a common pattern in Stratos. Titles are used to generate internal data structures like database tables, while descriptions are used in the service descriptions and catalogs as metadata.
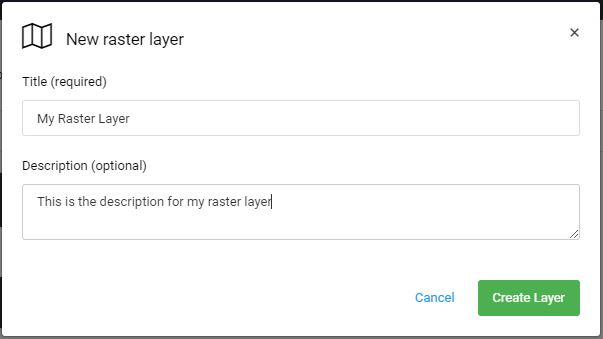
Click the "Add Layer" button. The layer will be created and you will be taken to the raster layer editor. This dashboard manages imagery mosaics for all raster types supported by Stratos. It has a lot of features and options, but for now we just need to add some data.
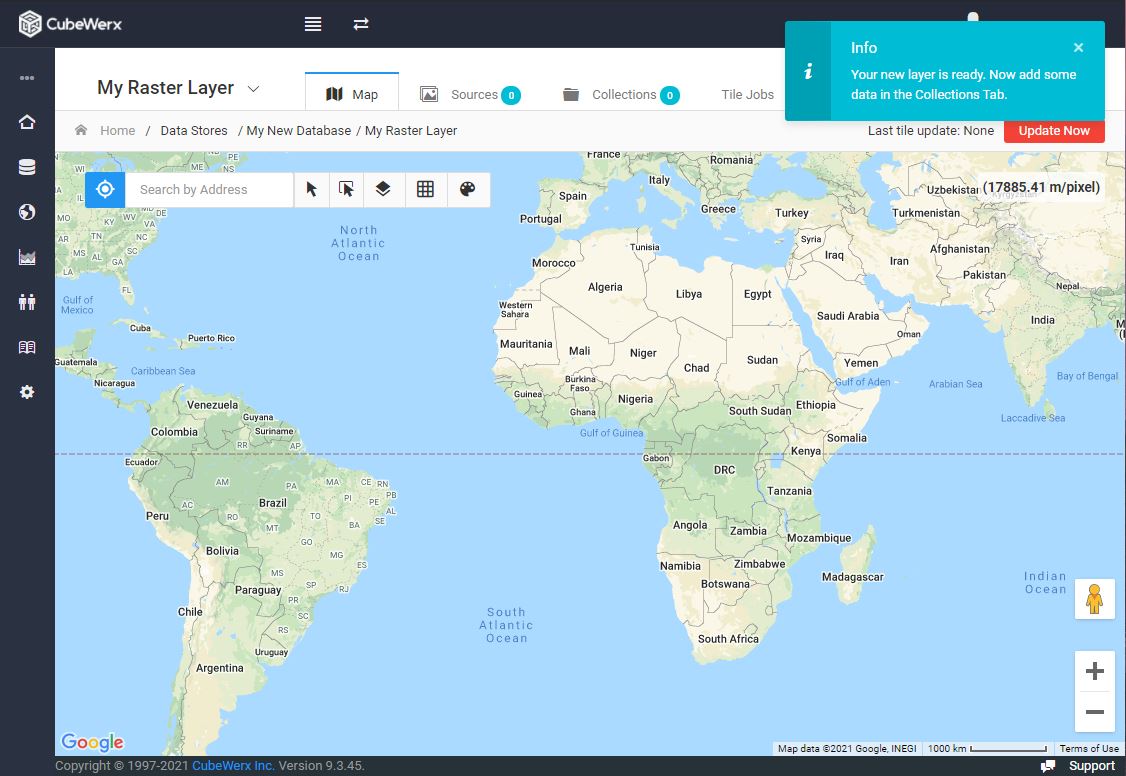
We'll do that by creating a new collection. As the tooltip suggests, open the "Collections" tab and click the "Add" button.
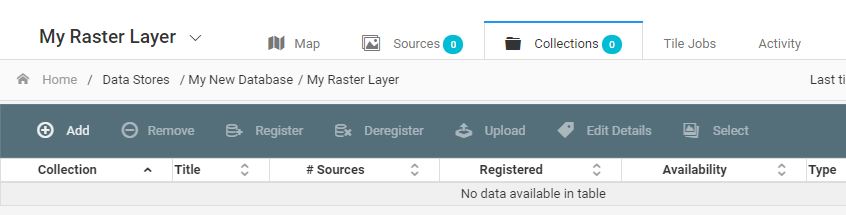
You'll be prompted for the type of collection you wish to add.
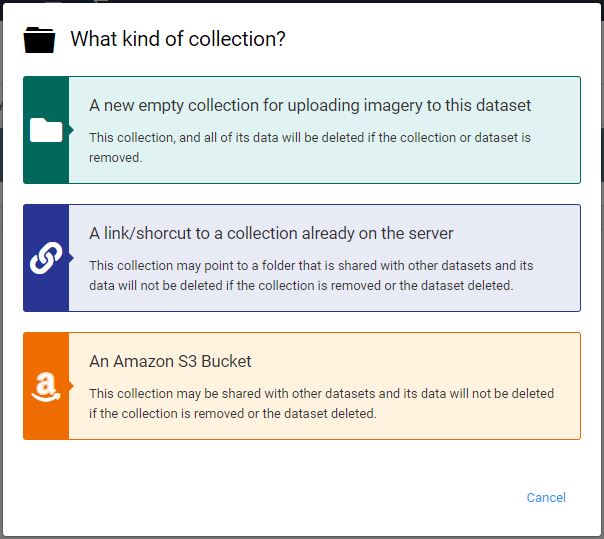
Stratos supports the tree types of collections descibed in the dialog. For the quick start, we're going to pick the second option and link to some sample data that is provided with the platform. Click the second button: "A link/shortcut to a collection already on the server" and fill in the target path field as shown. Both the other fields are optional.
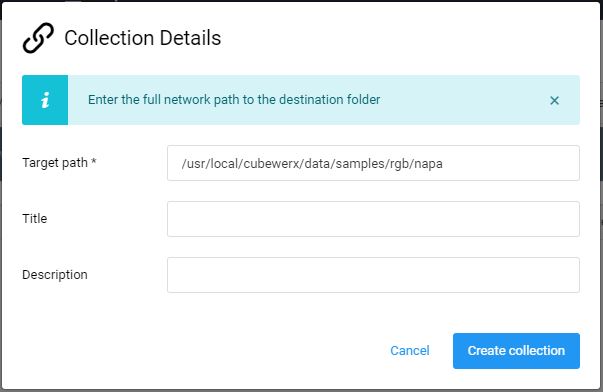
Click the "Create collection" button. Stratos will scan the given folder for any type of geospatial imagery files and register them to the layer.
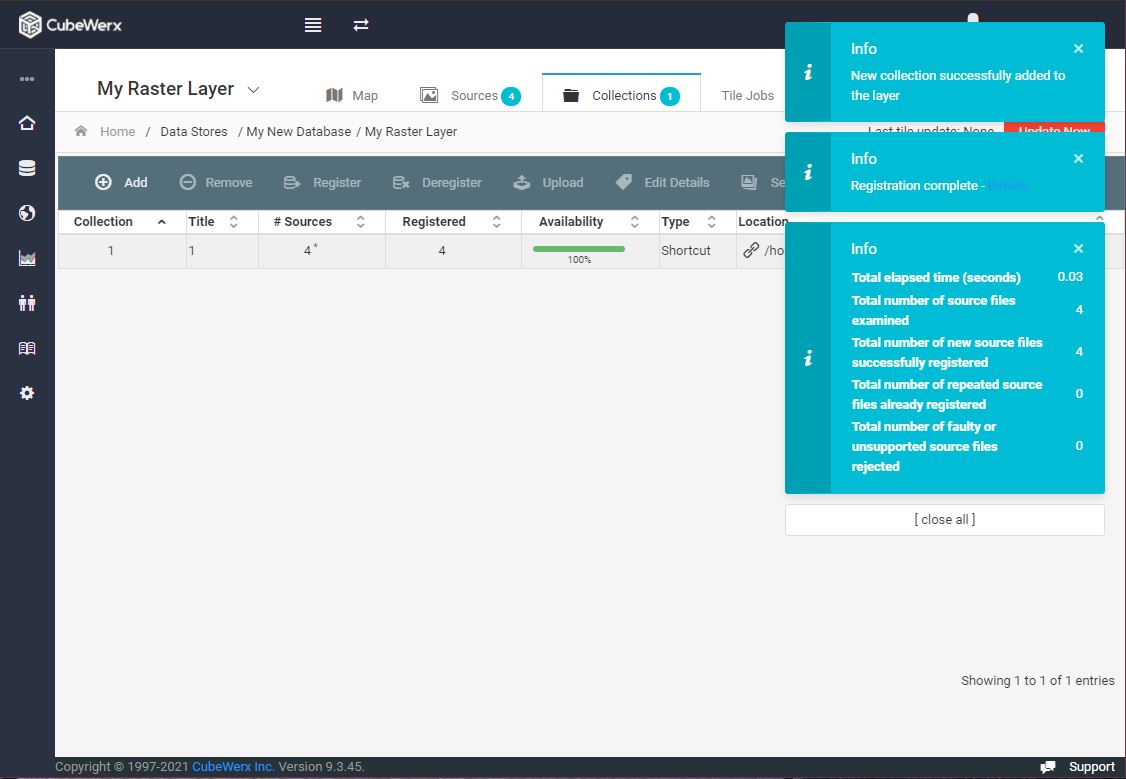
You'll see the four new layer source files registered in the collection. Switch to the Sources tab to see their details.
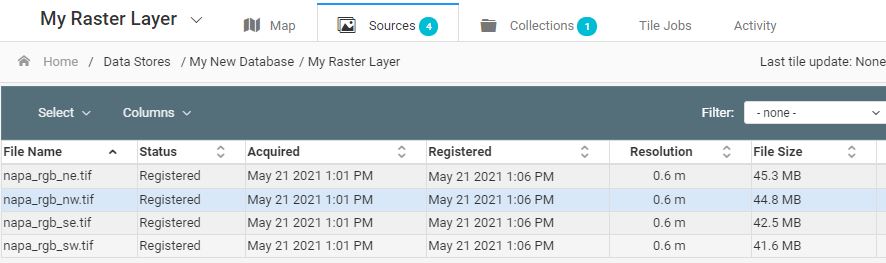
Notice that the "Update Now" button in the top right is not highlighted red. This is a reminder that we need to ask Stratos to generate map tiles for the new data we just registered. Click that button now.

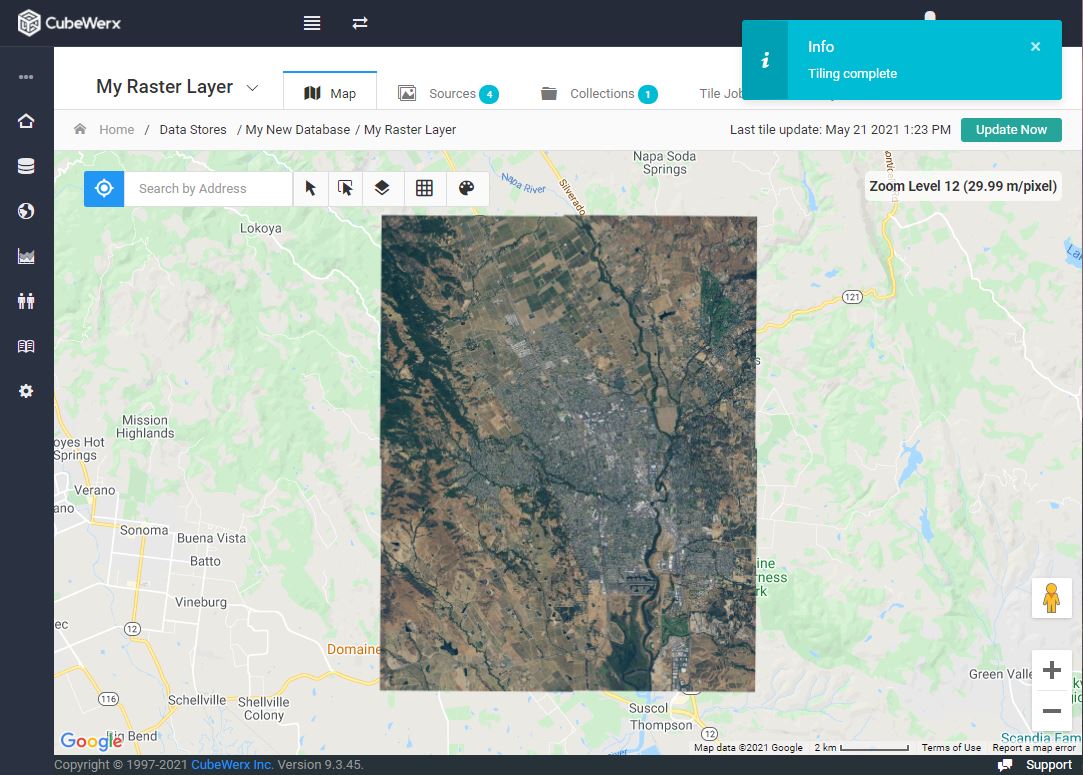
Stratos will start the map tile generation process on the server. When it is complete, the dashboard will switch to the Map tab and you will see your new mosaic.
Congratulations! You've published your first web service with the Stratos platform!
Go to the Web Services menu in the left sidebar and click the service linked to your new data store.
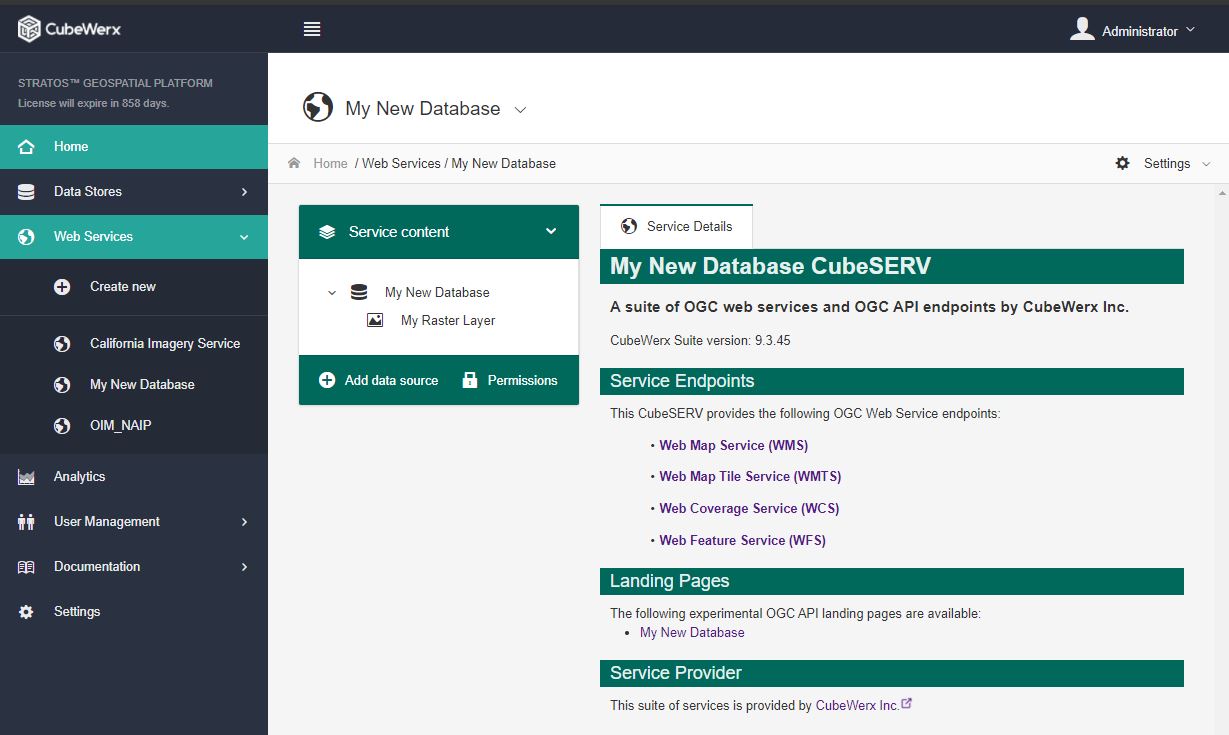
You'll see a service browser in the right panel. This is all the information that web app developers or desktop users will need to connect to your service.